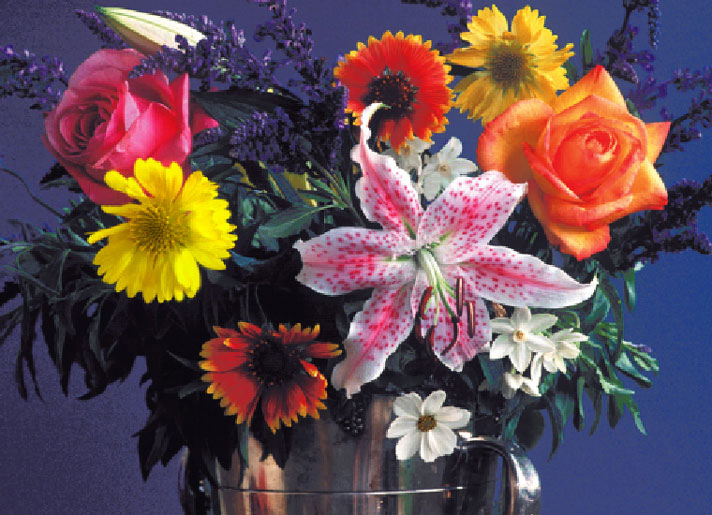
Figure 7 - Still Life
Back
to Chapter 2 home page